
At least for me- not many. But every now and then, there are some that are truly motivating and I have to act. Well friends- this post is about one of them!
You know those horrible 'contractor' mirrors that are in a lot of our bathrooms? You know the ginormous ones that while useful (because practically EVERYTHING on you and behind you are reflected) they're not that attractive to look at. So as I was looking on Pinterest, I saw several pins about people who 'framed' out their contractor mirrors and I was sold!
Here is our UGGGGULAYYY contractor mirror BEFORE:


For the past week (yes week- it takes a while when you a. have a 6 month old, b. are still recovering from jet-lag, and c. well... it just takes a while) I've been working on this project.
Armed with my pinterest pictures as inspiration:


and this blog's tutorial (http://impatientlyprayingforpatience.blogspot.com/2010/05/mirror-frame-tutorial.html)- I set off to do this thang!
I went to Lowes (since we had a gift card) and bought 2- 8ft long 4 1/4" base moulding (our mirror is 4' X 4'), went to Home Depot and bought Liquid Nails, Mirror adhesive, and used caulk, a hand saw, tape, and sander that I already had at home.
While at Lowes, I had them cut both 8 ft pieces in half : 1. less work for me =P and 2. I could easily put it in my Civic to bring home.
Once home, I used a right angle ruler to measure a 45 degree angle on each end of the trim.
Note: it important to be consistent to cut 'in' the same way with each piece. For example, the curvy side of the trim was my 'inside' and so I needed to cut towards that in order to piece them together correctly to frame my mirror.
Note: It's also important to make sure your 'outer' side is the exact dimension of your mirror. You don't want it to be too short as it won't properly frame your mirror. SO make sure you measure that several times. I took my pieces to the mirror too, just to make sure they were indeed long enough.
After cutting each end, I laid all 4 pieces out on the floor into a square and played with which piece should be the top, bottom, left and right. Once I figured out which piece fit best where, I then realized a couple of my cuts weren't as smooth but didn't take care of that just yet because I wanted to paint the trim first. You could probably go ahead and sand first if you wanted to. I painted both sides (even though I bought pre-painted trim) in a bright white, semi-gloss paint (since it's going in a bathroom semi-gloss helps act a repeller of moisture and is easy to wipe off). I went ahead and let the paint set a day partially because I wanted to let the paint dry thoroughly and mostly because I knew Eva was going to wake up soon and I wouldn't finish gluing the trim to the mirror in one sitting.
The next day I re-laid out the pieces on the floor and figured out which one especially needed a little sanding to make a better fit. I used my electric sander to help them out and it was a step that was totally worth it, even though I wanted to take a short-cut and just 'go for it' since I was banking on caulk covering any 'non-perfect' seams anyway. After sanding it was a better fit and made for less work in the long run, a better end product, and more peace of mind.
Next came the gluing time! DUN DUN DUN!!! Thankfully Eva subconciously knew her momma needed extra time, so she helped out by taking a longer nap than usual! Thanks love bug! =)
I took the: 4 trim pieces, liquid nails, caulk, caulking gun, painters tape, level, and paper towels to the bathroom! After reading the directions on the Liquid Nails tube I realized I had about 10 minutes of setting time to get each piece in place.

All the pieces in the bathroom!
I loaded the tube into the caulking gun and after pumping several times realized nothing was coming out. DUR- forgot to puncture the inner seal.

After puncturing the inner seal =P
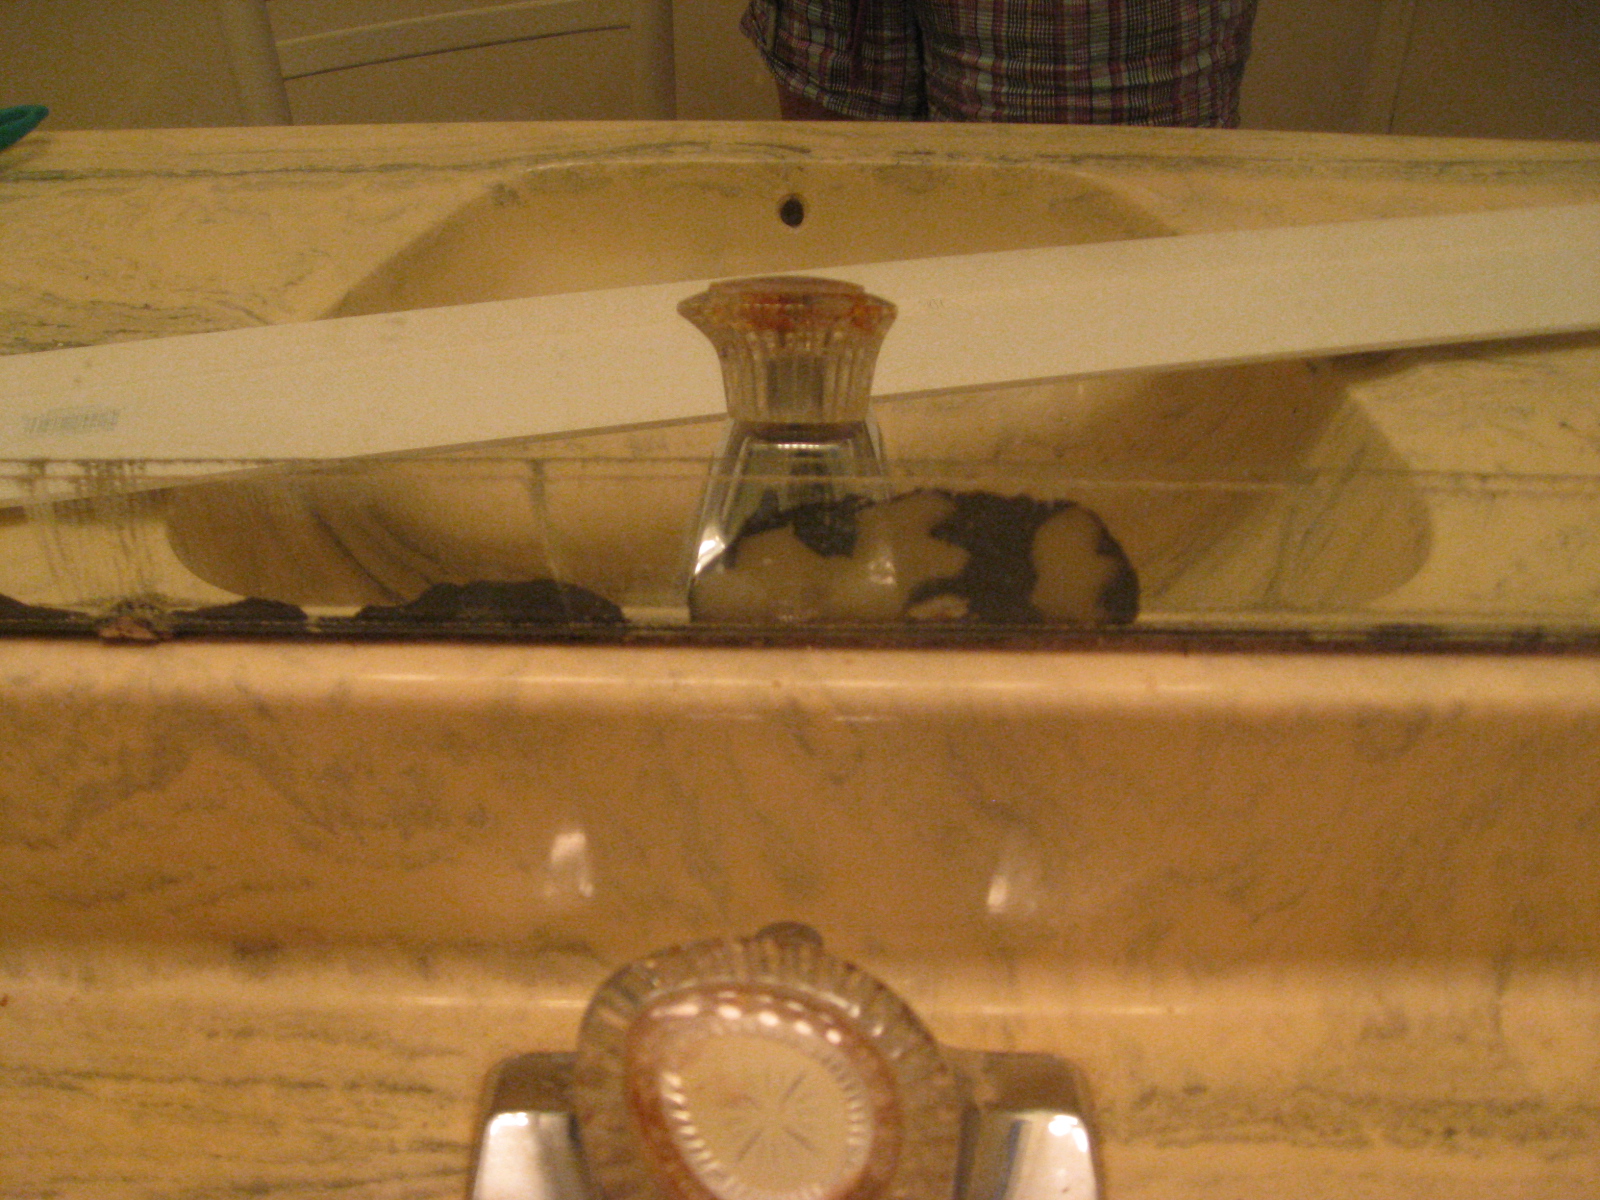
Old, decaying mirror. No worries- it would be covered up again soon!
After pressing the trim firmly against the mirror, I grabbed 3 pieces of tape I already laid out and fastened them to the trim.

Very handy to already have tape laid out since your hands will be occupied holding the trim.

The first piece is up!
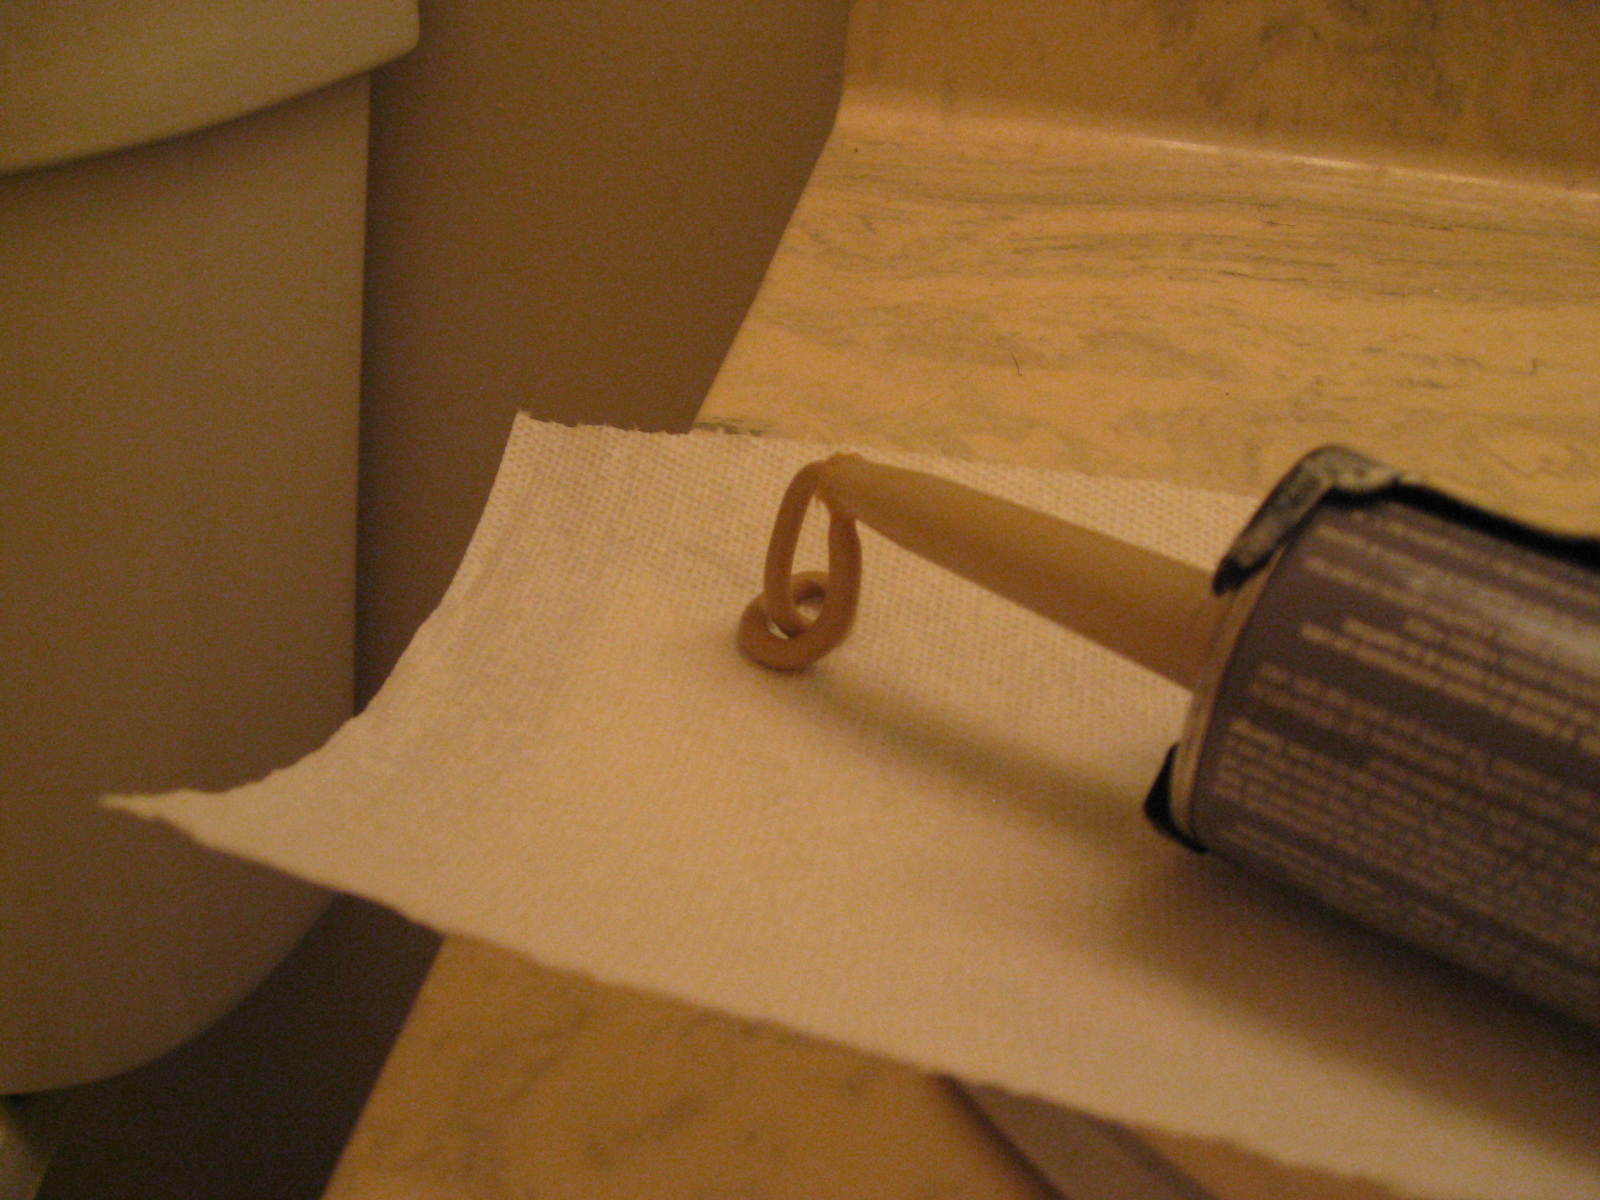
Oh yah- I should also mention after caulking each piece the glue continued to ooze out, so I just put a paper towel under the gun and used the excess caulk at the start of caulking the next piece.

Allllllllllllmost there!
Once all 4 pieces were in place and securely taped, I just had to wait. I decided it was better to wait to let everything set then to just begin caulking (even though I really wanted to because I wanted to see the finished product!). I was glad I waited since the pieces actually shifted as they hung there drying, even though they were taped up. So I just kept coming in every 5-20 minutes over the next 4 or so hours to press the pieces against the mirror. I'm really glad I did that even though it was annoying, because as the pieces pulled away from the mirror during the drying process you could see the zig-zag glue pattern. So pressing it every 5-20 minutes, helped keep the trim drying closer to the mirror.
Ok, enough blabbing- the final product!
Before:
AFTER:

BEFORE:
AFTER:

YAYYYY!! SO glad I did it and now I can't wait to paint the bathroom!