9.22.2011

Facelift, part 2!

Are you ready for this? Oh man, cause this is one exciting update for me to write about! As previously mentioned, in this post, we've been doing a little 'beautification' project. And as promised, here is the update/finished product.

When we bought our house, we knew she needed lots of updates... one of them being her exterior. She's been neglected to say the least, and well- we're just not fans of the whole 70's motif we have going on. So for a simple, (read: inexpensive) update we decided to paint the shutters! That way we could break up the monotony of brown, brown, brown, and more brown. Let's just say I'm MORE than thrilled because with fall approaching (aka. after the colors have faded) we'll have even more brown surrounding our house, so adding a pop of color I hope really helps liven things up.

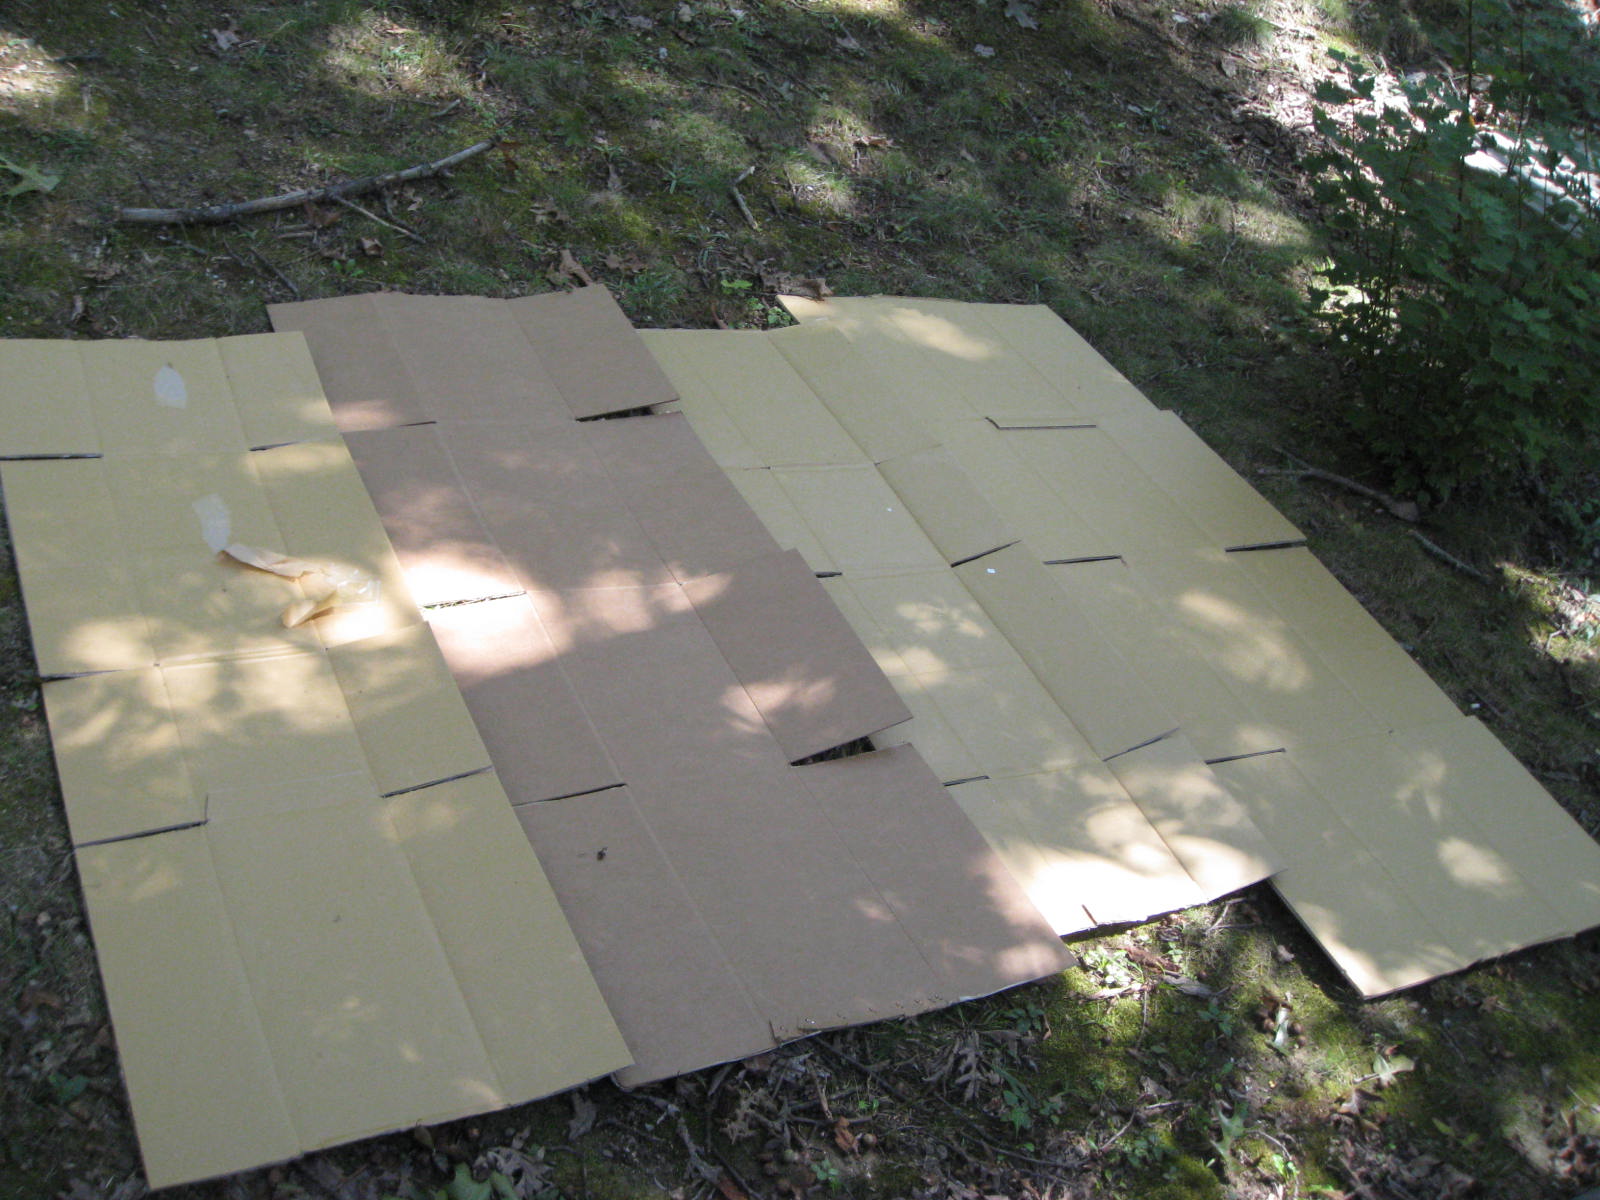
First, we laid out a bunch of cut-up cardboard boxes to help cover the ground so we didn't up with blue grass. And fortunately since we've just recently moved- there's no shortage in supply of cardboard boxes in our house.


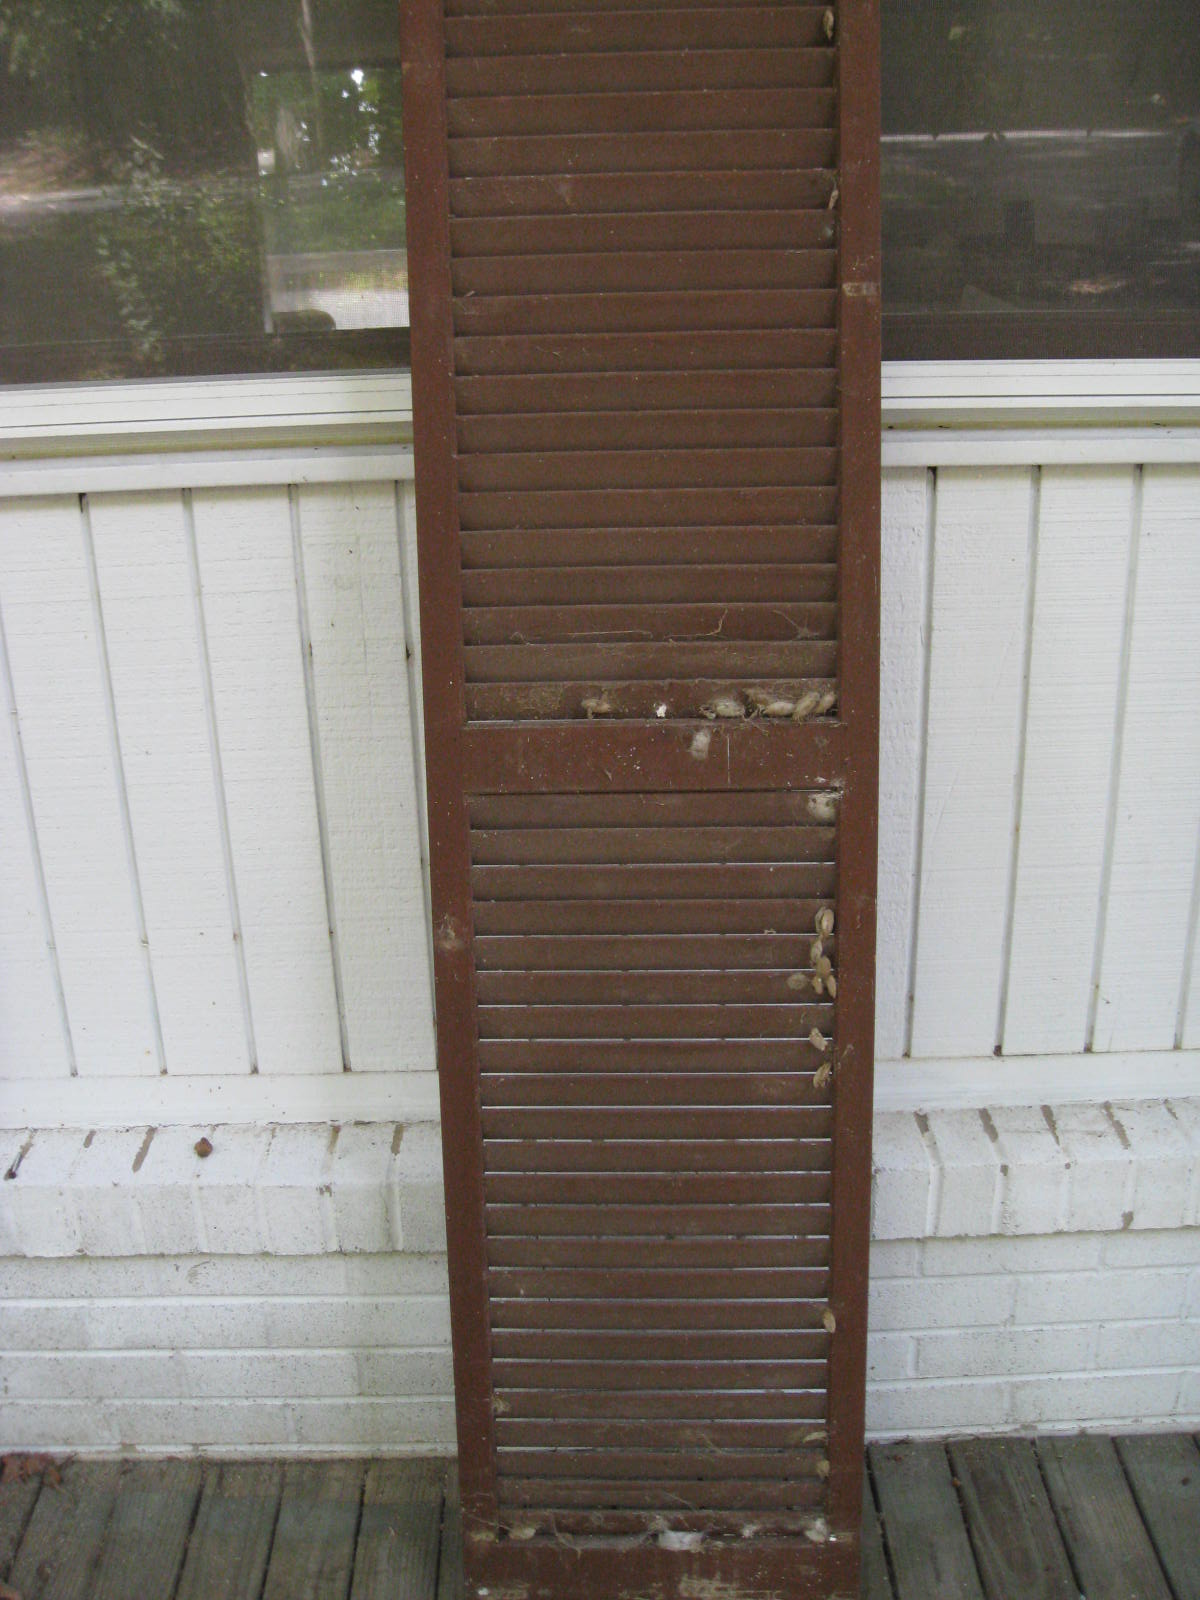
From there it was pretty basic- lay out the shutters, grab and shake a can of spray paint, and go at it. One thing I read and found particularly helpful is to do light, even coats- keeping in mind that at least two coats will be needed to cover the surface adequately. I found that by doing this, our end result was smooth, consistent, and exactly what I was going for. So just a thought.

After one coat- here you can see what I'm talking about with needing another coat.

I tell ya- reading the label on the spray can is the most effective thing you can do. I realized that a second coat could be applied as early as 20 minutes after spraying the first, but also definitely needed to be applied within 24 hours of painting them. I also realized that for 6 shutters, only 5 cans were needed since roughly it was just a little under 1 can per shutter for 2 coats.


Waiting for all of the shutters to dry enough before applying the 2nd coat.

Unfortunately it began to drizzle while I was waiting, so in a frenzy I leaned them all against the house (don't worry the backs were dry so no blue paint got on our white painted brick). I had to wait until the next day to get the second coat on but like I said, the can said 'within 24 hours' so I made sure to do that, and I am really happy with what we were left with.  When I did get to paint them the next day this is what I found waiting for me on one of the shutters-


Who knew we had so many fun bugs around our house? Wait did I seriously just say that? 'Fun' + 'Bugs' in the same sentence... I must be coming down with something. (In case you don't know... I HATE bugs. I am scared of them and they're scared of me (or rather me when I yell for my hero-husband to come save me from them. aka "squash it squash it!!! Now flush it down the toilet so it can't come get me again!"). *Don't worry, no bugs were harmed or killed in the process of this project*

Alrighty, enough stalling from me. Here is the final product:

Before:


After:


Mm hmm. Ain't she a beaut? Much more cottage-y for sure, and definitely a nice break up of the brown! And for under $20 bucks  (5 cans of spray paint at about $3.50 a piece), totally worth the cost for a good facelift.

Hooray!

9.14.2011

Ahhh... So Peaceful.

So friends, the house updating just keeps going and this past update was one of my favs! This past Monday and Tuesday, I have been painting our master bedroom and let's just say it is the best before and after by far! I must apologize though because about a 1/3 way through the process I realized I didn't have any good before pics of the room.. Oops… so I snapped a few of the unpainted (& messy) side of the room. I guess better than none right?

SO this is sorta what the room looked like before- minus the whole mirror on the bed thing, the bed & dresser pulled out in the middle of the room,  and the overall state of chaos. I promise our bedroom doesn't normally look this disheveled on a day to day basis.... wait, actually let's back up even further, here is our room the day we closed on the house:


And here it is moving day:


Now let's actually look at it after the wood floors  were installed, and post move-in day, but mid-painting shall we say:


Each stage has been actually quite the improvement and let's just say this last was totally worth all the little 'hiccups' along the way. What hiccups are those? Well, to start as I was sitting on a stool bending over to trim around one of the socket covers that wouldn't come off I realized I was probably putting my head right into the freshly painted wall above me. YUP! I did… I looked at the wall and saw all these crazy squiggles from where my hair had brushed it and knew I was in for a fun look in the mirror. This is what I saw:


Let's just say I wasn't really hoping to add to my ever increasing grays so quickly- so I went ahead and washed that janx pronto.

Moving on, once I got to a good stopping point I had to leave to go to the grocery store to make my friend Dana  a meal I signed up to take since she & her husband just had their first baby boy a little over a week ago! I wrapped up my brush, roller, and paint pan and left not thinking twice about any of it.

When I got home, our cat Pepper (oh yah I haven't introduced Pepper- another time) greeted me looking VERY guilty and sorry. I didn't know why though…. yet.  After putting away the groceries I went to the bedroom just to look at how the paint was drying. It was there I saw these:


yes friends those are paint paw prints. Peps somehow found a way to stick her foot in the 95% covered paint pan. Why? I have no idea. I managed to paint the entire living/dining room without her even being remotely curious, but not this time. Fortunately, since we have laminate hardwood floors the paint came off just with a wet rag. Shwew!

Then yesterday, I finished this sucker off! And boy does it look pretty! I even managed to get the whole room back together and hang new curtains I got from TJ Maxx! Overall I am so pleased with the result because it actually came out the way I had envisioned in my mind- which is very satisfying because so often it doesn't quite work out that way.


Now I would say the room is a blend of peaceful and romantic, calm and welcoming. All very good combinations for a bedroom I think.

9.11.2011

Facelift, part 1

So while most of our projects have been focused on the inside of our house, we took this past Saturday to venture outside and tackle one that we hope brightens the house a bit. See our house, as much as we love it, needs a LOT of TLC....especially on the outside. It was a rental home before we got our hands on it and let's just say it's been a bit neglected in terms of aesthetics and all things eye-appealing. Then add that it was built in the late 70's and hasn't been updated much since then- and yah, well you get the idea.

SO what did we do you ask? Well...

we decided that we'd paint our shutters! Right now our exterior consists of two colors- white and brown.... LOTS of brown: the siding, the stucco, the trim, the fascia, and the shutters. But not for long!

In order to get to the fun part of painting we had to do a little prep work- you know, take the shutters off the wall, sweep them off, rid them of all the DISGUSTING spider and caterpillar nests on their backsides, wipe them down with a wet rag, and then finally- paint!

Basically this is what it looked like:

Oh yah- we umm, tried to wait for this couple to finish their biz-nass but moved these stick bugs with a stick so we could continue on in our project. 


Once that was taken care of we unscrewed and took all the shutters down.


We cut open and laid out some cardboard boxes to spray on.


Used very 'official' tools to de-bug all the backs of the shutters. (I'm referring to the obliging stick, not the power tool =P)


 Exhibit A: All the nasty spider and caterpillar nests on the back of the shutters.
 (Ewww eww gross gross... sorry still creeps me out)

(look at them all!)


Once all the critters were off, we swept and wiped off the shutters too.


TA DA! All the prep work was done and it was time to paint!

Tune in soon for the painting and finished product shots! We're still in the process of deciding if we like the paint color enough to continue with spraying or to change the color. =)

9.07.2011

Our New Foyer!

So about two weeks ago I blogged about our changing foyer soon to be complete with a built in bookshelf! Well friends the time has come for the big reveal!

It took a little bit longer than we expected, but then again, what house project doesn't!? The results though are SO worth the wait and extra effort. At least I hope Josh feels that way since he did a lot of the grunt work. ;)

The difficulty came when we realized the floor was just a touch un-level/sloping, and unfortunately the bookshelf was slightly uneven as well. As luck would have it (not that I believe in luck, but I can't think of another transition phrase), they both were leaning the same way so unfortunately one's off-ness did not fix the other.

This is where Josh's grunt work came in. What did we do to fix the problem? Sand, sand and more sand. Yup. Josh sanded the tar outta that shelf until it was level when placed on the slightly unlevel ground. I'm so grateful for a hard-working, non-flustered, dedicated husband. See when kinks come up in our projects, Josh is calm... hardly anything ruffles him. I on the other hand, get all tense, flustered, and am easily overwhelmed. Perhaps it's when things are out of my comfort zone that I have the hardest time trusting, but yet that's exactly what I need to do. Josh and I are a great team, and we've solved many little bumps along our home improvement way. So I need to trust that he is more than capable and together we can come up with a good solution.

I didn't take any pictures of sanding but oh well.

So are you ready friends? Here is the big reveal!


Here is the foyer before we even moved in:
(Here we're measuring in preparation to build the bookshelf!)


Mid-progress- after we've ripped out the carpet, the old rickety banister, and installed new floors:


And finally: NOW!


Of course there are still more changes to come- staining the railing, hanging a 3rd picture in the 'walks of life' series, perhaps a collage of photos on the other wall, & painting the foyer;  but we are SOO happy with the results! It feels wonderful to have thought up an idea, planned for it, seen it built, and to finally embrace the end product!  I love being a home owner with Josh and wouldn't want to do this whole adventure with anyone else! 


Now onto continuing my current project... give you a hint- the preparation for it is in this picture (and no it's not hidden in what we affectionately call 'the tool bar'):


9.01.2011

Fun Door Decor

So the other day while I was at the doctor's office perusing through their magazines I came across a really cute door decoration idea for the fall. I liked it so much I even took a picture of it so I could reproduce it later. Well today is later and it looks great! (eh hem- if i do say so myself.)

Basically it's a cluster of pine cones, tied up in ribbons and it's just simple/pretty.

So off I went on a hunt to find pine cones, which wasn't too hard because the park right around the corner from us had plenty I could choose from off the ground.

(Here's my loot!- 8-10 pine cones, & 2 spools of ribbon.)


Once I got them home, I had to pick out pine needles and various other foliage since they had been lying on the ground for a bit of time. I even managed to have an earwig fall out on me (in the bag) while cleaning one of them, which startled me but since he landed in the bag it wasn't traumatic. (if you know me, you know I HATE bugs and admittedly can over react when they come crawling towards me but out of a genuine fear of them).

(You probably can't see but there are pine needles and leaves in the bag)


After that, I just cut my thinner ribbon at various lengths, tying a pine cone to each end, leaving a bit of a 'tail' so it would flow and look purposeful rather than awkward.

Like so:


Once all the pine-cones have been tied you simply tie a larger ribbon around the loop you create at the top, which will be used to hang on a hook (or nail) when you put it up on your door! The larger ribbon I used was wired which helps create some interest since you can make it curl however you want.


And that's it friends! 15 minutes later I had a fun, fall/hokie-colored door decorator. Simple as that!

ta-da!